2016-03-25 18:33:03 chip
Page 1615
📢 PUBLIC
Mar 25 2016
After four excruciating days I have finally built the mock board.
The second run went flawlessly. The third run at 100% speed finished
flawlessly with one rejected pick.
The next step is to load the tray (cut tape) components and
build. The tray components are the TC33 and U-A3967SLB. {THREAD_LINK:1395}
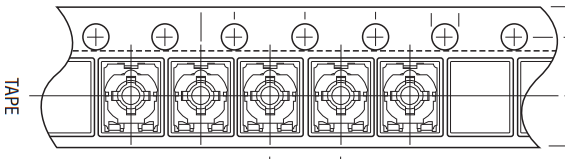
Take a close-up photo of the tray components in their original tape
before removing the cover tape to record how the parts are oriented in
relation to the sprocket holes. It is extremely likely I will be
replacing the components and I will need to know how they are placed.
This information is also in the packaging information of the
datasheet, but a photo is easier.
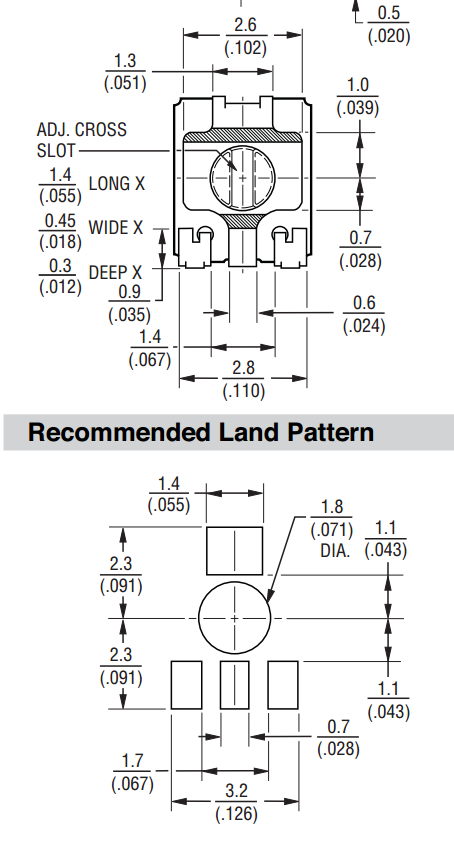
The TC-33X is oriented in the tape with the notch toward the
sprocket, the two pins away. The second diagram shows the footprint.
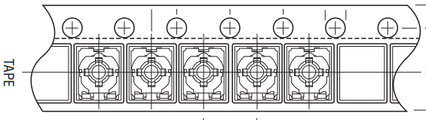

The A3967 is oriented with the notch toward the sprocket.
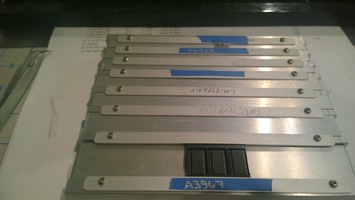
Use painter's masking tape to secure the feeder tape in the tray
and for labeling. Masking tape is easier to remove than celophane
tape. Do not write directly on the tray!
Test
I need to test the pick and place operations. If I have restarted
Place since building the last board I will need to go through Learn
Reference Points again to set the fiducials, reference points, and
horizontal line.
- Open "Learn Place"
- Click "Skip All"
- Uncheck (to unskip) one of the A3967 components.
- Click OK to close Learn Place.
- Open Auto Production
- Click Start
- Verify that only the single A3967 component will be placed.
- Run production
- Compare the actual placement against the layout, paying
close attention to the orientation of the part on the board.
- Remove the component from the board and replace it in its original
tray location, paying close attention to the orientation of the part
in the tray.
- Open "Learn Pick"
- Select the tray tab
- Reset "QFN No" for the A3967 component back to 1.
- Click OK
SUCCESS! It worked. I am now ready to order the boards and
stencil.
Replace the larger, more expensive components in their cut tape
receptacles and secure them in place with tape. It is not worth the
trouble for smaller components, certainly not for resistors, caps, and
leds. Tiny components live in a different universe where Newtonian
physics don't always apply. For 0402 parts, static electricity is much
stronger than gravity and they will fly through space seemingly at
random.
WebV7 (C)2018 nlited | Rendered by tikope in 98.187ms | 216.73.216.220