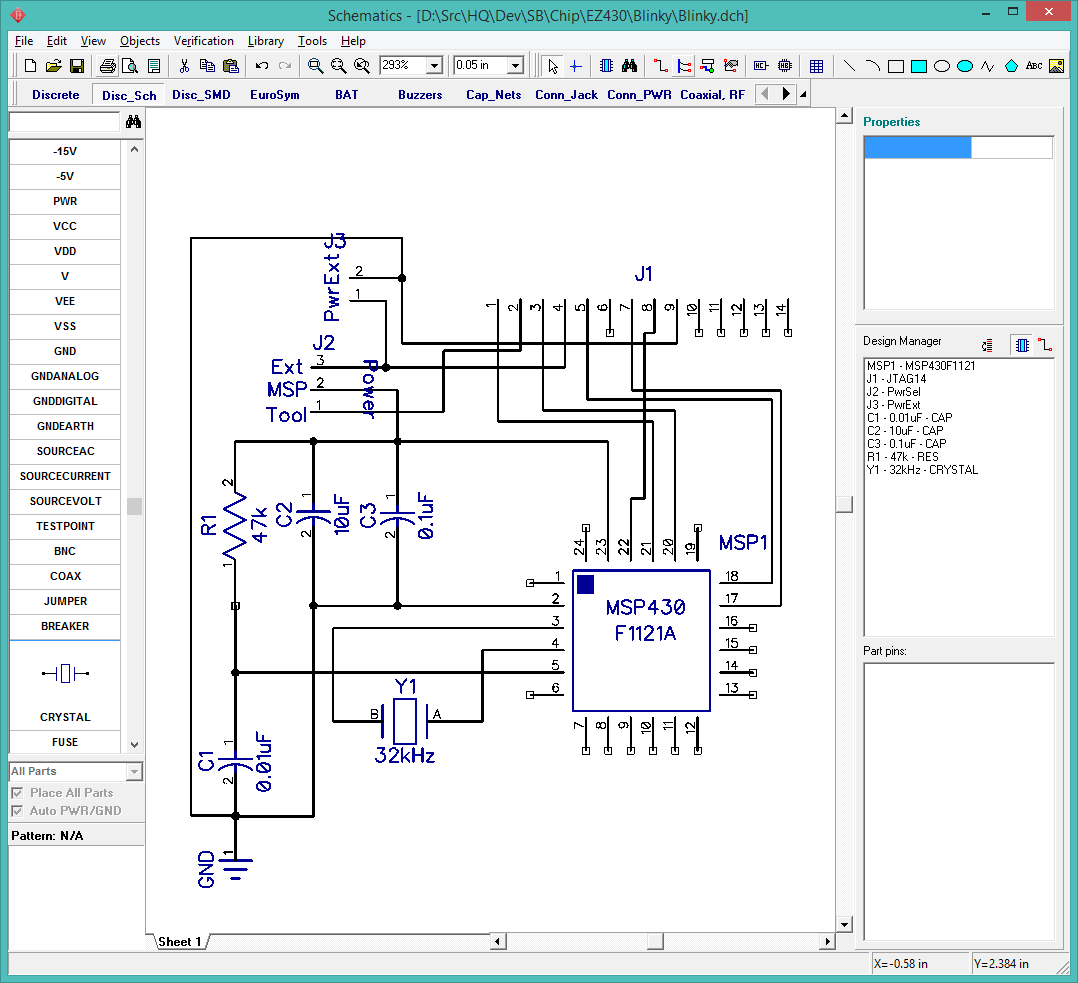
Now I am ready to drop these components into a schematic and start hooking stuff together.
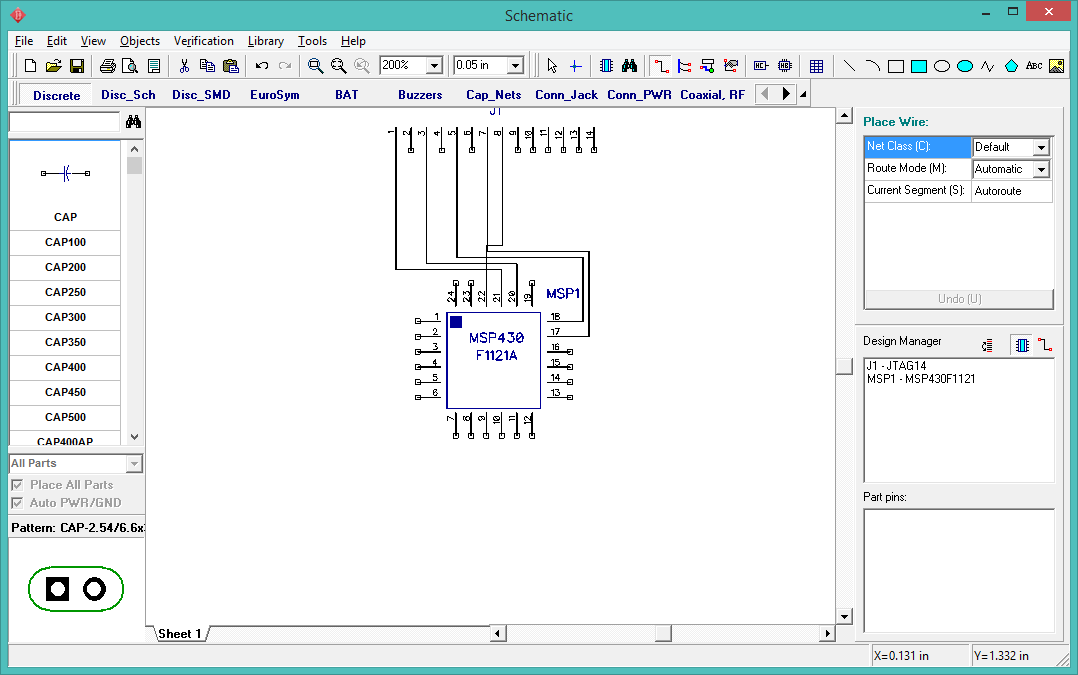
First I place the MSP430 component using Objects > Place Component. Add my EZ430 library (if it is not already listed) and select MSP430. Place one instance and hit ESC.
Next drop in the JTAG connector and connect the pins using the table above.
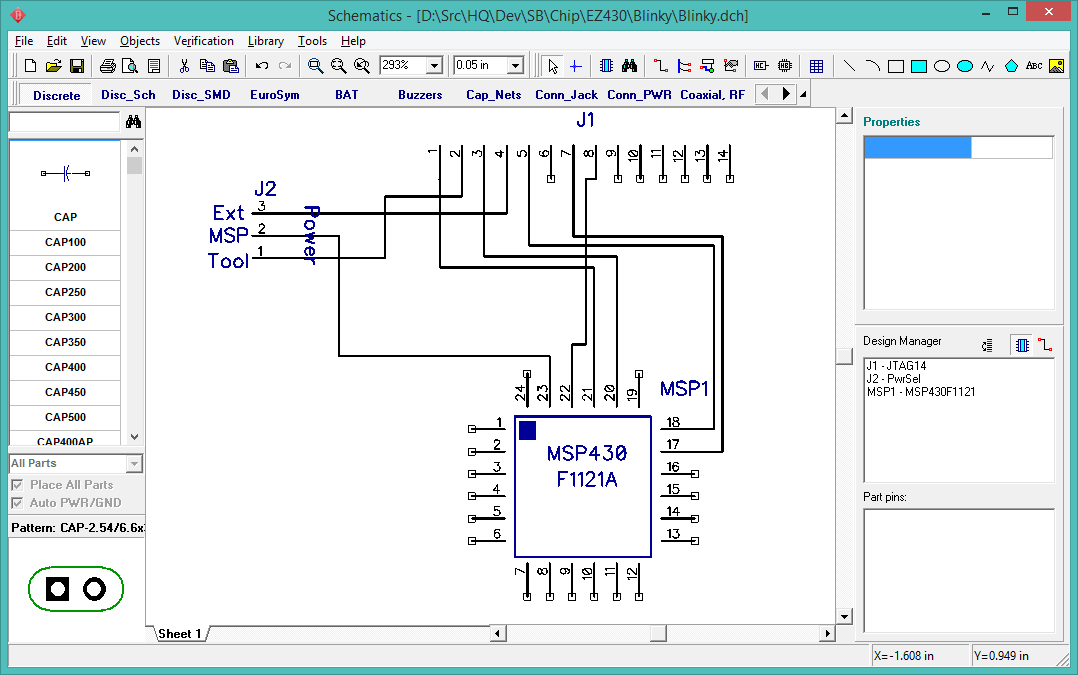
Now I need a 3-pin header for the power select. I create a new component and pattern and drop it in.
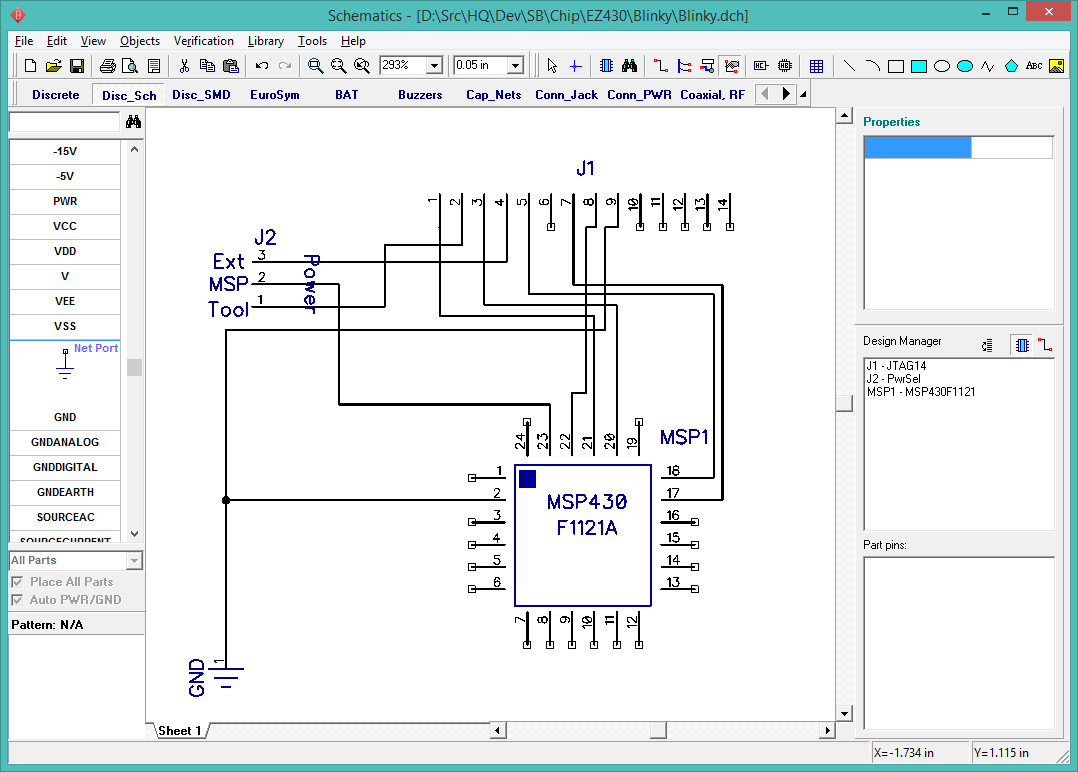
I add the ground. The GND symbol is found in the stock components under Disc_Sch.
An external power connector. This uses two standard 0.1" header posts, which is also common for radio-controlled battery packs.

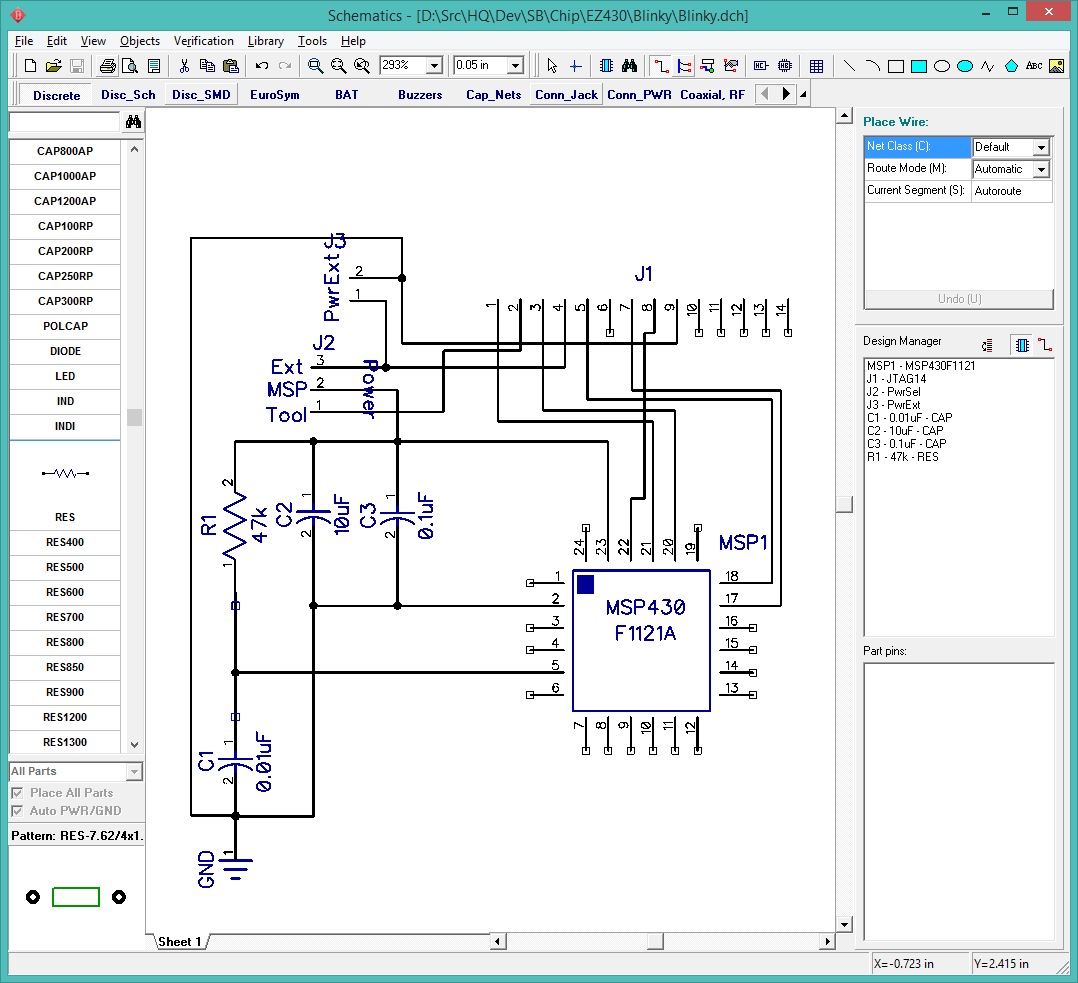
Now add the three caps and one resistor for the power filter. The cap and resistor symbols come from the stock Discrete library. Note that the attached patterns are for through-hole parts, so I will need to create SMT patterns after I identify the actual parts I will be using.
Add the 32KHz crystal. I will need to attach the pattern after I identify the part.
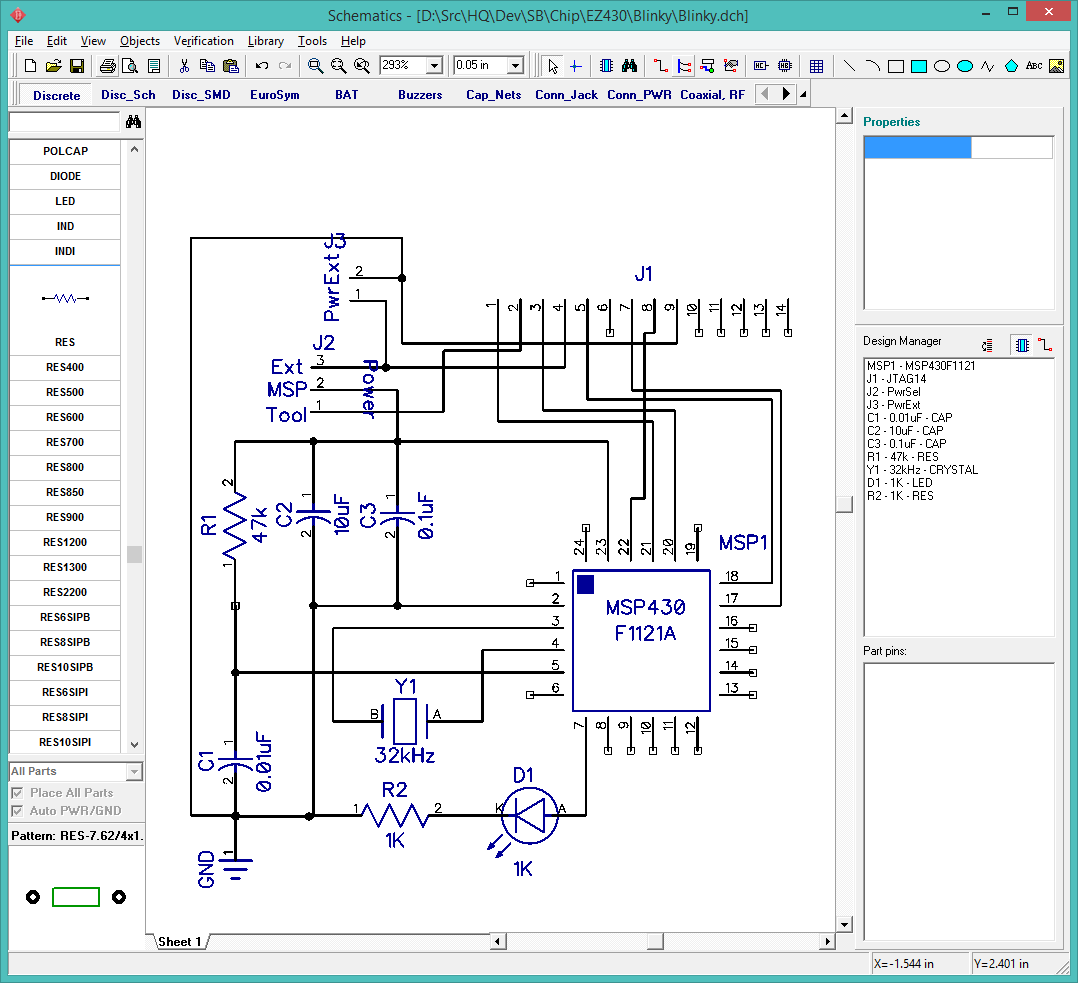
And finally, add an LED and 1K resistor to port 2.1.
I cleaned up the JTAG component, removing the No-Connect pins from the schematic. This required updating the "Attached Pattern" in the component editor and making sure the pins were still connected to the correct pads, which was automatic if I kept the pin numbering the same. I noticed I had forgotten to connect the JTAG TEST and /RST pins. I also added a 9-pin TestPoint header for all the unused MSP430 ports.
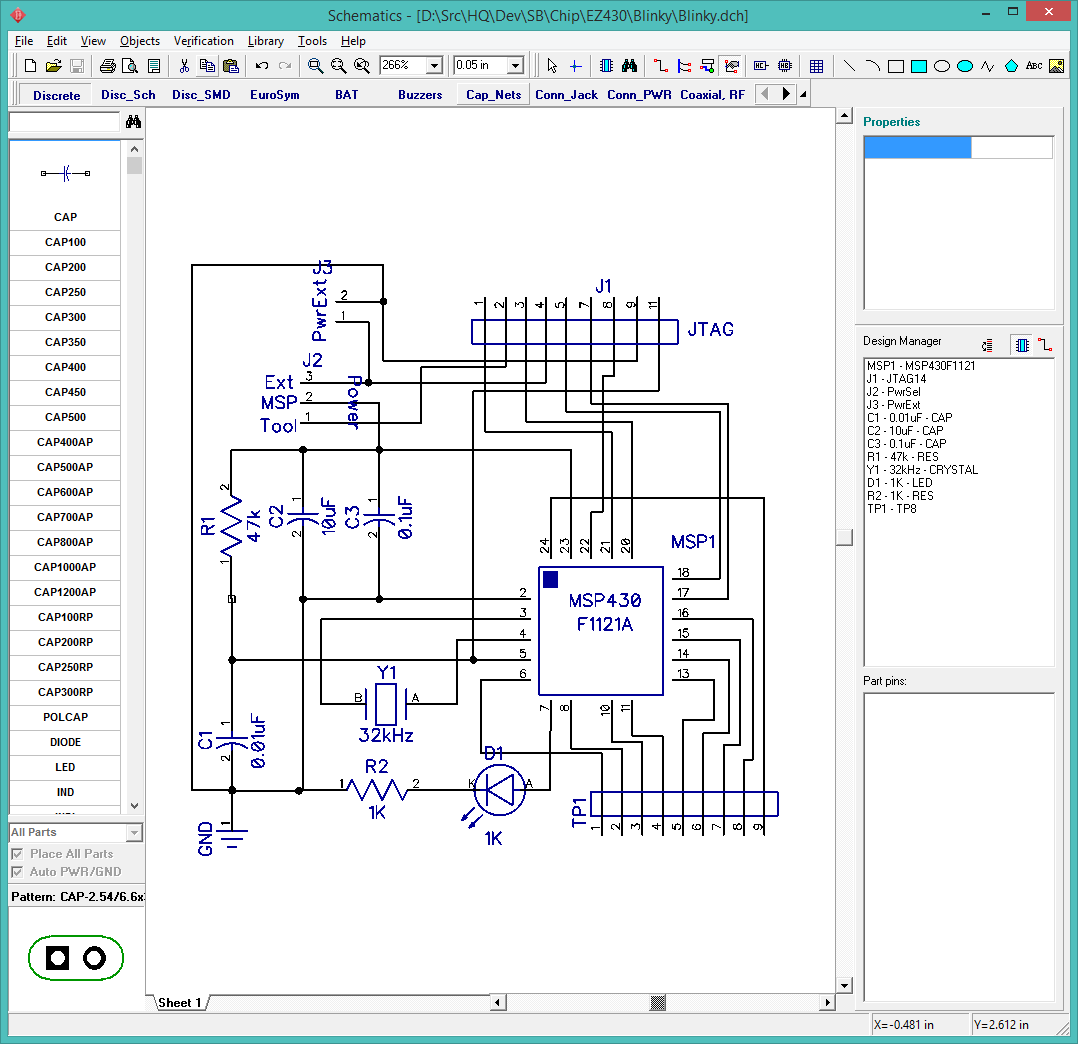
The schematic is now complete. It is very tempting to plunge into the board layout now, but I must resist that urge. The next step is to finish specifying parts, and do a bunch of tedious accounting, transcribing and ordering.